
 I made this bag from Kwik Sew pattern 3612 but added pockets to hold all the bits and pieces that I can never find in normal bags.
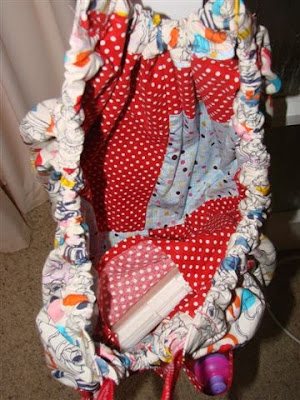

And I made the girls these activity packs to hold all their colouring bits and pieces. I got the basic idea from this tutorial but changed it to suit my needs. 

Here’s how you make one big enough to fit a couple of A4 size colouring/reading books, 6 felt pens, a pencil and a pocket for other bits and pieces like stickers and treats.
You will need:
Fabric, small piece of velcro, interfacing or thin wadding, Scissors,
Sewing machine
Straight edge
Rotary cutter and mat (optional)
Tailors chalk or disappearing ink pen
Preparation:
Cut out 2 oblong pieces of fabric. Mine were 23"x16"
Cut out one piece of thin batting or stiff interfacing (I used stuff for handbags) in the same size as the fabric
Cut out a long pocket piece the same length as your outer and lining pieces and about half the height.
Cut out a smaller pocket piece (about 8 1/2“ x 6 1/2” )
Cut out a long d-shaped piece for the outer flap (see pic further down)
1. Take your lining piece and pin it to the wadding or attach fusible interfacing. Fold over the top of the long pocket twice and hem the edge.

2. With the right side of the lining face up, pin the pocket to the lining piece. With your ruler, mark the middle point with tailors chalk or disappearing ink pen.
 3. Mark vertical lines over the rest of the pocket wide enough to fit your pens or pencils. Mine were thick pens so I spaced them 1 ½ “ apart.
4. Turn the top of the small pocket over twice and press. Turn over the other 3 edges once. Pin the pocket on to the left hand side of the folder, above where the pens will go. (see above)
5. Stitch the pocket in place and stitch along the vertical lines of the pen pockets. This is what it will look like on the underside of the wadding/interfacing. 6. Stitch around the d-shaped flap piece. Clip curves and turn right side out. Press and top stitch close to the edge. Attach a piece of Velcro (the rough side) to the top edge of the flap.
 7. Place the flap Velcro side down in middle of the right hand edge of the lining piece. Make sure that there is a bit of an overhang from the flap piece to make sure it stays there securely. Put the cover piece face down so the pieces are right sides together and pin
8. Stitch all the way around the rectangle leaving a gap for turning. Trim edges and clip the corners. Turn right side out and press tucking the turning opening edges in. Top stitch all the way around catching the opening as you go.
9.Fuse a piece of felt to double sided fusible webbing. Cut out a letter shape of your choice. Peel off paper backing and fuse it on to the closing flap piece.

10. Mark with pins where the soft part of Velcro needs to go and hand stitch it in place.

You’re all done! Fill it with pencils/pens and books and give it to your favourite kiddliwink. Let me know if you make one of these and come across any problems.


2 comments:
I love these activity packs! I'll have to make Grace one for trips out, such a cool idea to personalise!
Thanks Jess. I've learnt from our trip on the plane that the pencil/pen pockets need to be a lot smaller to hold the pens in snug so I'll be adjusting that when I get back from my trip!!
Post a Comment